Mailchimp Data Connector User Guide

Are you looking to streamline your email marketing analytics and reporting? Power My Analytics' Mailchimp integration allows you to easily connect your Mailchimp account, automate data collection, and create powerful reports. This guide will walk you through the process of setting up Mailchimp as a data source, creating reports, and understanding key metrics and considerations.
Prerequisites
Before you begin, ensure you have:
- A Mailchimp account with Admin or Owner access
Granting Admin Access to an Account in Mailchimp
To grant Admin access to an account:
- Go to Account and click Settings > Users.
- Click Invite A User.
- Enter the user's email address and select the Admin role.
Adding Mailchimp as a Data Source
- Log in to your Power My Analytics hub
- Navigate to Sources in the main menu
- Click + Add new source
- Select Mailchimp from the gallery of available sources
- Sign in to your Mailchimp account to authenticate
Creating a Data Studio Report
Follow these steps to create a Data Studio report using your Mailchimp data:
- After adding Mailchimp as a data source in the PMA hub, navigate to Reports > Data Studio
- Select Mailchimp under Create Data Studio Report (this will open the official Data Studio application in a new window)
- Google Data Studio Configuration:
- Step 1:
- Name your data source: (e.g. “Mailchimp - Organization Name”)
- Choose your Power My Analytics hub from dropdown
- Optional: Leave “Use report template for new reports” checked to use PMA demo template
- Click Next
- Step 2:
- User Account: select Mailchimp account (real data) or “Sample Account” (sample data)
- Click Next
- Step 3:
- Choose “Currency” for reports
- Click Connect (top right) to complete the data source configuration
- Step 4:
- Click Create Report (top right)
- Include “today” in your report’s date range to begin historical data storage when you first create a report
Key Reports and Fields
Mailchimp data in Power My Analytics offers a wide range of metrics for your email marketing analysis:
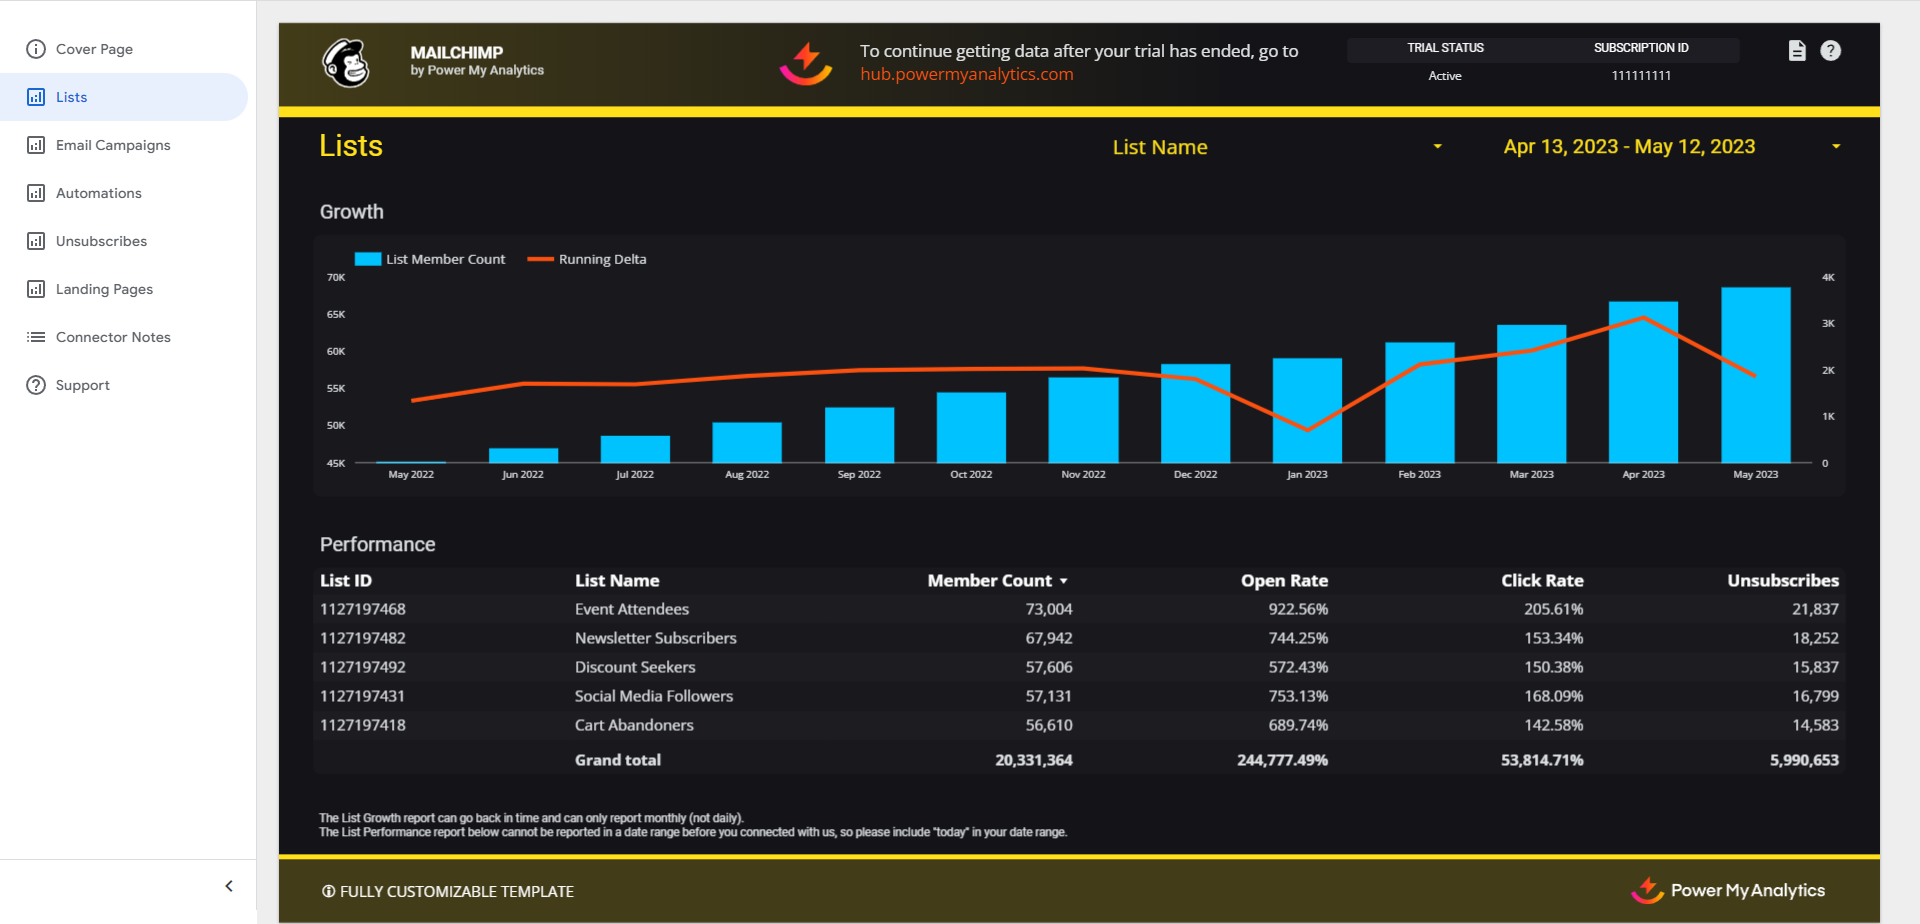
- Growth Metrics: List Member Count, Running Delta
- Performance Metrics: Open Rate, Click Rate, Unsubscribes
- Campaign Metrics: Recipients, Bounces, Opened, Open Rate, Clicked, Click Rate, Unsubscribed
- Automation Metrics: Emails Sent, Total Opens, Total Clicks
- Landing Page Metrics: Visits, Unique Visits, Clicks, Subscribes, Conversion Rate, Orders, Average Order Revenue, Total Revenue
For a complete list of available Mailchimp fields, refer to the Schema Explorer.
Per-Link Click Performance (Campaign Click Details)
Want to know exactly which links your subscribers clicked? Power My Analytics now collects per-link click data for each campaign through Mailchimp's Campaign Click Details report. For every tracked link in a campaign, you can report on:
- Click URL: the destination link that was clicked
- Total Clicks: how many times the link was clicked
- Unique Clicks: how many individual subscribers clicked it
- Click Percentage: that link's share of all link clicks in the campaign (shown as a percentage value; for example, 12.5 means 12.5%)
- Link ID: Mailchimp's unique identifier for the link

A few things to keep in mind: this data is campaign-scoped (each row is one link within one campaign); like the rest of your Mailchimp data, it is collected daily from the day you connect and reflects lifetime totals (see Limitations and Important Considerations below); and reporting on which individual subscriber clicked a given link is not available.
Common Questions: Subscriber Counts and Opt-Ins
A few Mailchimp fields have names that sound like a total subscriber count but actually measure something more specific. If one of these fields is returning 0 or no data, this section explains why and points you to the right field to use.
Which field shows my total number of subscribers?
Use List Member Count (shown as Stats Member Count in the Schema Explorer). It comes from Mailchimp's List Growth report and reports the total subscribed members on each list (audience) at the end of the month. This is the same subscriber number you see on your Mailchimp audience dashboard. For an accurate total, report on List Member Count per list.
Why is the "Subscribes" field empty or zero?
The Subscribes field comes from the Landing Pages report, and it counts only the sign-ups that happened through a Mailchimp landing page. It is not your total list subscriber count. If you do not use Mailchimp landing pages, this field will have no data. For total subscribers, use List Member Count instead.
Why is the "Conversion Rate" field empty?
Conversion Rate is calculated from the Landing Pages report (Subscribes divided by Unique Visits). Because it depends on landing page activity, it will also be empty if your account has no Mailchimp landing pages.
Why does the "Opt-Ins" field return 0?
The Opt-Ins field comes from Mailchimp's List Growth report, and the value behind it (
optins) is deprecated in Mailchimp's API; it returns 0 for every account. Mailchimp's own dashboard no longer shows a matching "Opt-Ins" metric. To see how many people are on your list, use List Member Count.Is "Opt-In Timestamp" an opt-in count?
No. Opt-In Timestamp (
timestamp_opt, from the Members report) is a per-member date and time that records when an individual member opted in. It is a detail attached to each member, not a total or a metric, so it cannot be added up into an opt-in count.Quick reference
|
Field
|
Report
|
What it measures
|
Best used for
|
|
List Member Count (Stats Member Count)
|
List Growth
|
Total subscribed members per list at end of month
|
Total subscribers per list
|
|
Subscribes
|
Landing Pages
|
Sign-ups through a Mailchimp landing page only
|
Landing page performance
|
|
Conversion Rate
|
Landing Pages
|
Subscribes divided by Unique Visits
|
Landing page performance
|
|
Opt-Ins
|
List Growth
|
Deprecated by Mailchimp; returns 0
|
Not usable; use List Member Count
|
|
Opt-In Timestamp (timestamp_opt)
|
Members
|
When an individual member opted in (date/time)
|
Per-member detail, not a count
|

If List Member Count itself is unexpectedly empty or zero, that is not expected behavior. Please submit a ticket so our support team can take a look.
Limitations and Important Considerations
When working with Mailchimp data in Power My Analytics, keep these points in mind:
- Cached Data Requests with Unique Metrics and Date Dimension: When a unique metric is paired with the date dimension, this will result in a request for cached data instead of a request for live data. For more information, please see Understanding Cached and Live Data Requests.
- Backfilling: All data is lifetime and cannot be backfilled.
- Historical data collection: Daily collection of lifetime data by PMA will begin from the day you connect your Mailchimp account as a data source.
- Automations: Only classic Automations are available.
- Campaign Last Click field format: Campaign Last Click is a text field that contains a date.
- Summary rows: A summary row for Click Rate or Open Rate will produce incorrect figures because the Mailchimp API does not send summary values
Unavailable Data
- Reporting by email address (per-subscriber data, such as which individual subscriber clicked a given link)
- Reporting by day: All data is lifetime. Sends, opens, and clicks cannot be reported by day.
- Journeys
- 24-hour performance
- Average order revenue
- Top locations
- Clicks per unique opens
- Audience
- Subscribers with most opens
- Tweets
- Account ID
- Realtime data
- Custom fields
Tips and Tricks
Select date ranges that begin with the create date of the campaign to see reports on sends, opens, and clicks.
Troubleshooting
See our article Basic Troubleshooting for information on issues that may affect the Mailchimp connector.
Related Articles
Report Subscribes and Unsubscribes Over Time in Mailchimp
Last updated: June 8, 2026 Applies to: PMA hub, Mailchimp data connector, Data Studio destination Audience: Customers who want to chart day-over-day subscriber growth and unsubscribes from Mailchimp in Data Studio Mailchimp data in Power My Analytics ...How to Connect to Mailchimp
Looking to bring your Mailchimp email marketing data into a single, automated reporting workflow? This guide will walk you through connecting Mailchimp as a data source in Power My Analytics, so you can centralize your campaign and audience metrics, ...PayPal Data Connector User Guide
PayPal is a widely used payment processing platform, and integrating its data into your analytics workflow can provide valuable insights into your business performance. This guide will walk you through the process of setting up PayPal as a data ...Stripe Data Connector User Guide
Stripe is a powerful payment processing platform that enables businesses to accept online payments, manage subscriptions, and handle invoicing. This guide will walk you through the process of connecting Stripe to Power My Analytics, creating reports, ...BigCommerce Data Connector User Guide
Are you looking to streamline your BigCommerce data analysis and reporting? Power My Analytics' BigCommerce connector automates the collection and integration of your e-commerce data, saving you time and providing deeper insights into your online ...